
30 Apr Tiny Foxhunt transmitter & receiver
This is a simple “fox” transmitter and yagi/receiver that I built to use with our Scout group.
It’s designed to be very low cost (<$20), simple to construct, and robust enough to survive the rough and tumble of being handled by youth.
The main components of the transmitter are an ATTINY85 Arduino (compatible) Digispark board, and a 433 MHz ISM transmitter (similar to what you’d find in a garage door remote control). One advantage of using the ISM frequencies (in the 70 cm band) is that it can be used by anyone – no amateur license required!.
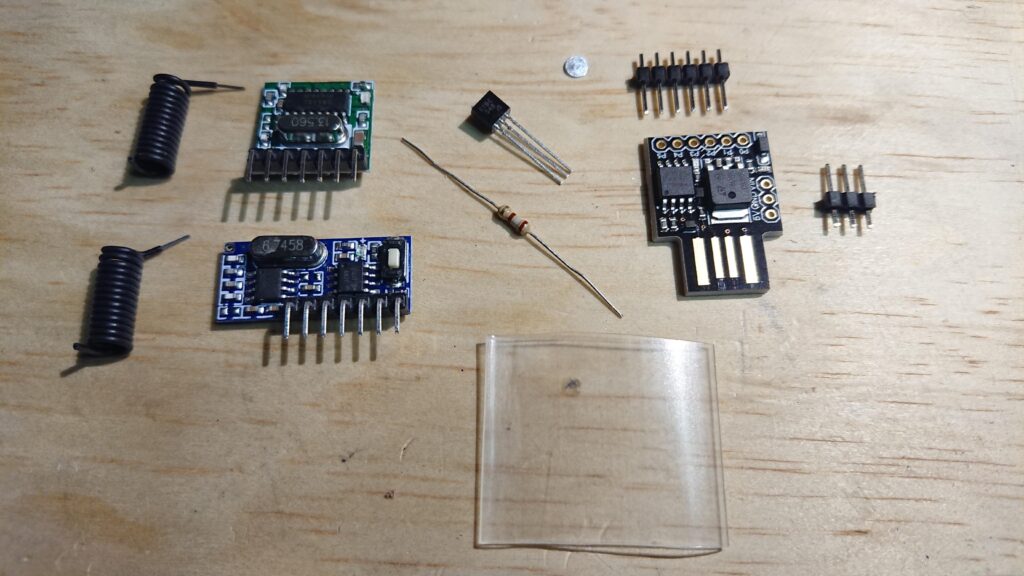
The parts shown in the photo are the 433 MHz transmitter and receiver, with the supplied coil antenna. We only need the transmitter and will make a better antenna. On the right is the Arduino Digisparc. This is used to activate the transmitter. It can be programmed to send various signal patterns. Between the two is a resistor and transistor that will be used to connect the two boards.
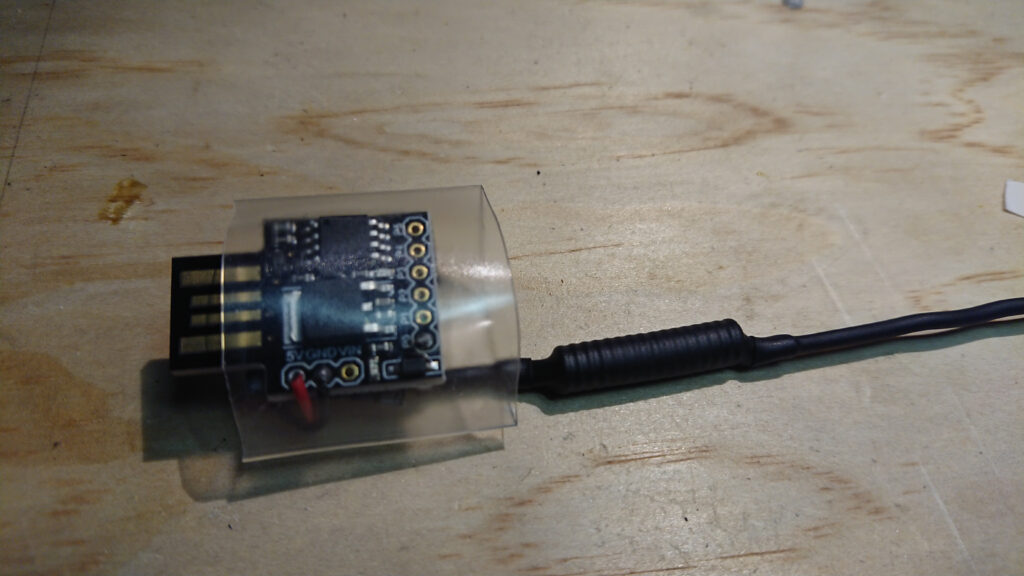
With its built-in USB connection the transmitter can be plugged in to any USB battery power source.
De-solder the pins from the transmitter and clean up the holes.
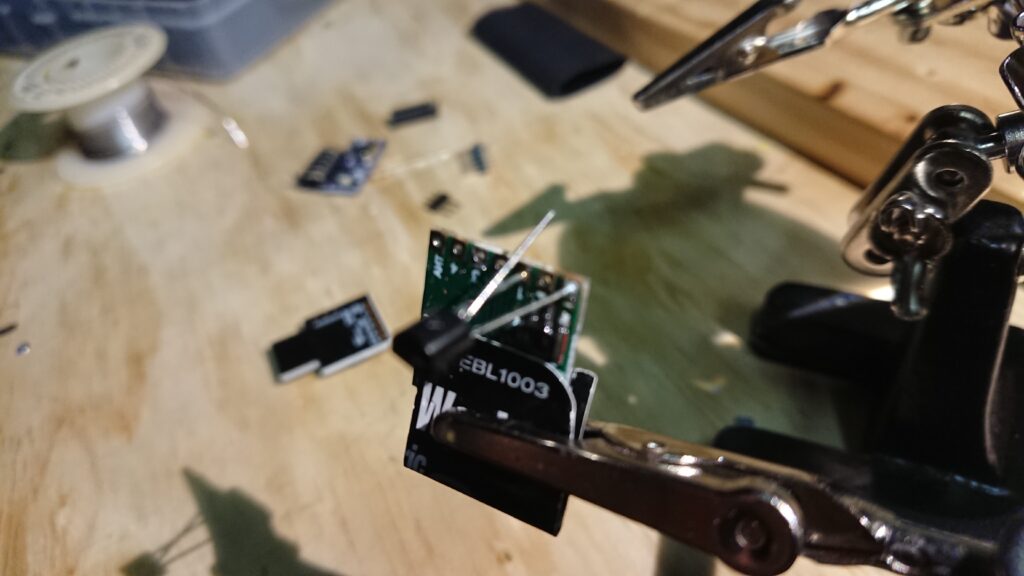
Solder the transistors two outermost pins to pin one and ground on the transmitter.
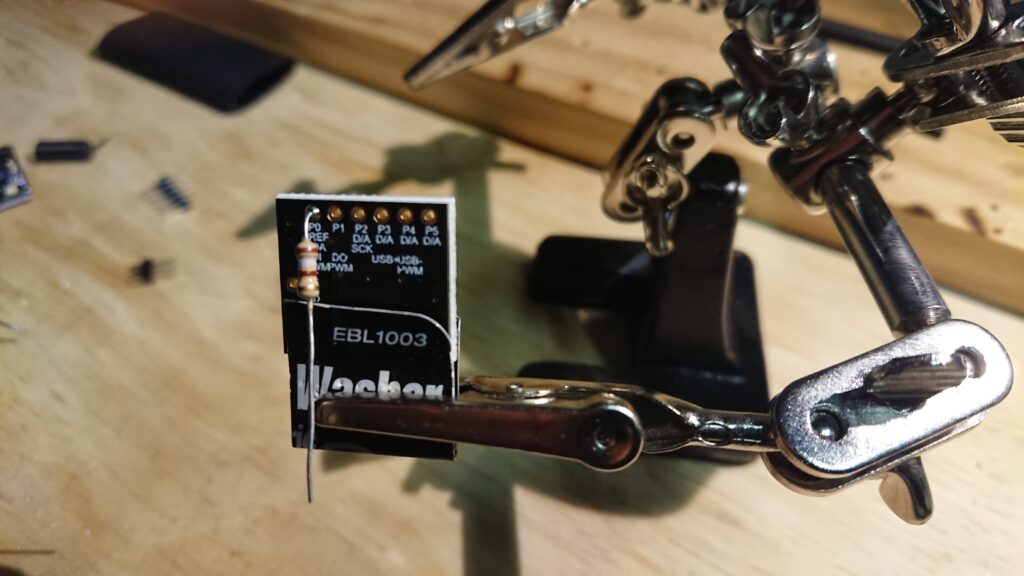
Solder the resistor to pin zero on the Arduino Digisparc.
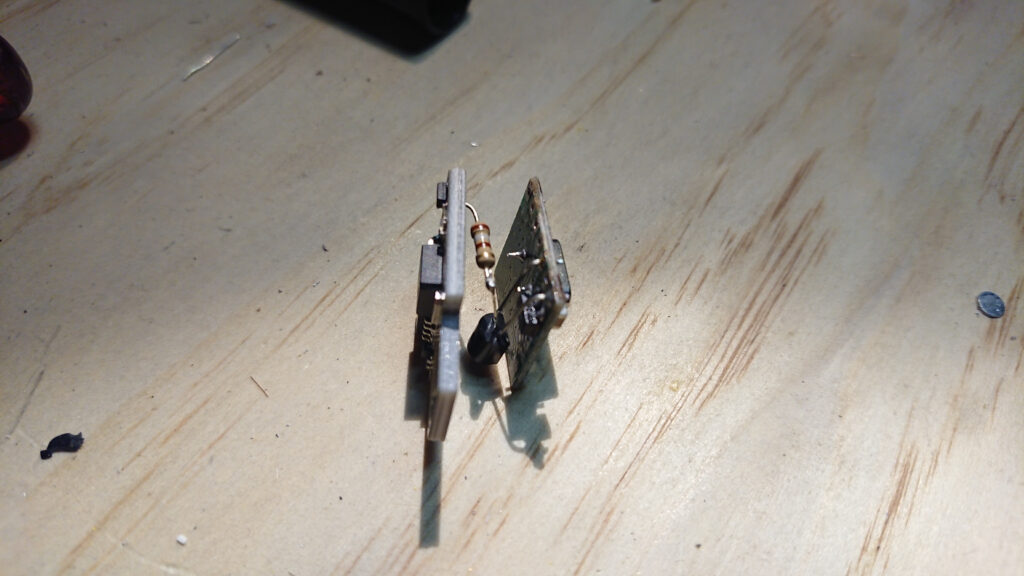
Trim and bend the lead on the resistor and transistor so they align when the boards are pressed together.
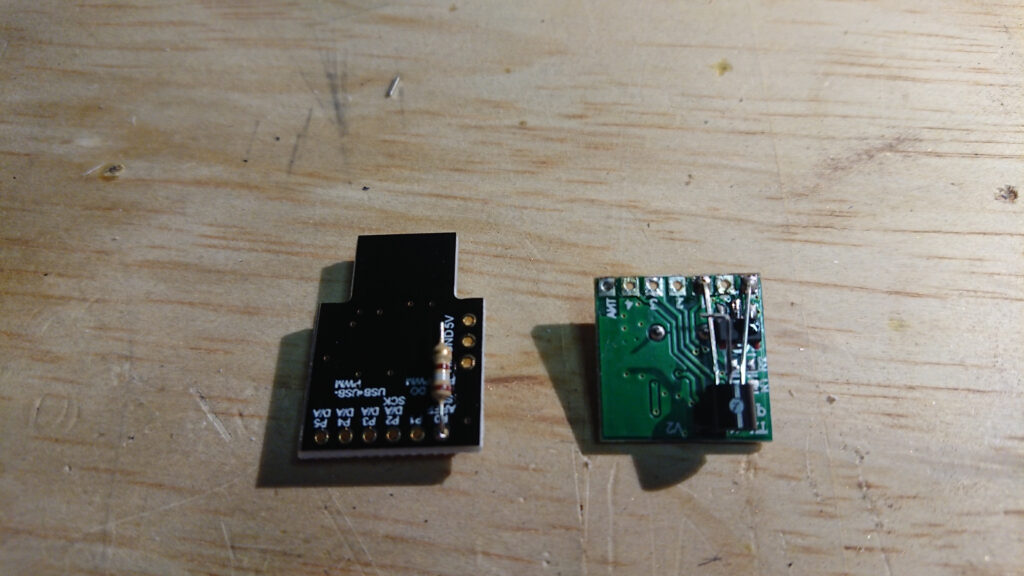
Solder the resistor to the transistor’s centre lead. You will need to insert some paper card to insulate between the various components.
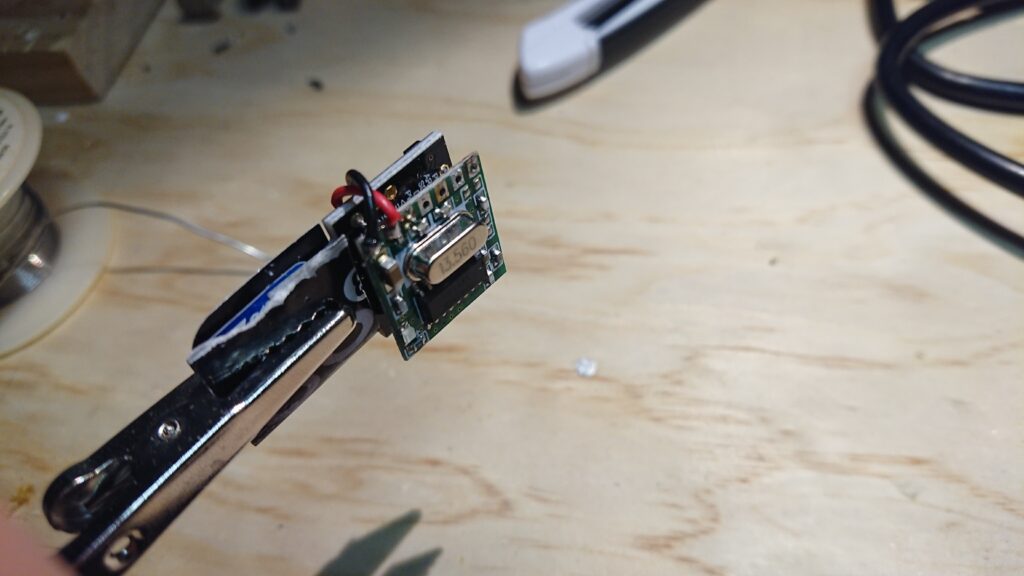
Solder two short wires between the +ve and -ve on the two boards.
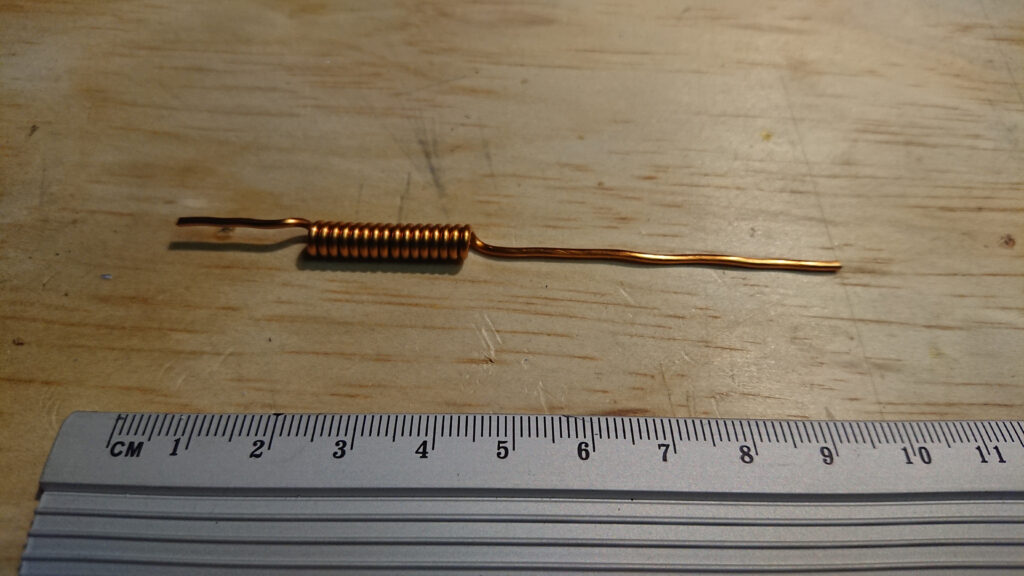
Build the new coil loaded antenna. 17mm at the base, then 16 turns around a 2.5mm diameter object (e.g. Knitting needle or a small screwdriver), then 53mm at the top.
Add some heat shrink to protect the coil. Remember to leave a couple of mm exposed at the bottom so you can solder it to the transmitter.
Solder the antenna to the transmitter, then add some clear heat shrink to protect the boards. You may want to add some packing to keep the boards aligned.
Finally, you will need to connect the board to a PC to program the Arduino.
One trick is that the Digisparc does not create a serial device on the PC, and it is only programmable for the first few seconds after it’s connected via USB.
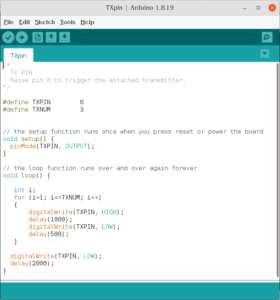
Then adapt a simple blink sketch to raise pin zero, which activates the transistor, which then grounds pin one on the transmitter and starts transmitting.
Next, you will need to build a (hopefully) directional antenna to use with the receiver.
I made a simple and cheap to construct Yagi antenna from PVC pressure pipe, an old tape measure, a BNC socket, and four screws, 30cm coax and some heat shrink.
First director is 289 mm long. – then 125mm setback.
Second director is 292 mm long. – then 52 mm setback.
Driven element is 315 mm long. – cut in half and trim 5mm from each side – mount on a firm plastic board – solder the coax to each side respectively – drill a hole and feed the coax inside the tube – add heat shrink to keep it neat – then 146 mm setback.
Reflector element is 336 mm long.
Pull the coax out the end of the tube and solder it to the BNC connector. Squeeze the end of the tube in a vise and insert the BNC connector. Use two small screws to hold the connector in place. When you release the vise the pressure will hold them firmly in place.
Finally, you need something to use as a receiver.
One option is to use a cheap HT, but this has a few drawbacks, such the risk that the youth will accidentally change the frequency or press the PTT button.
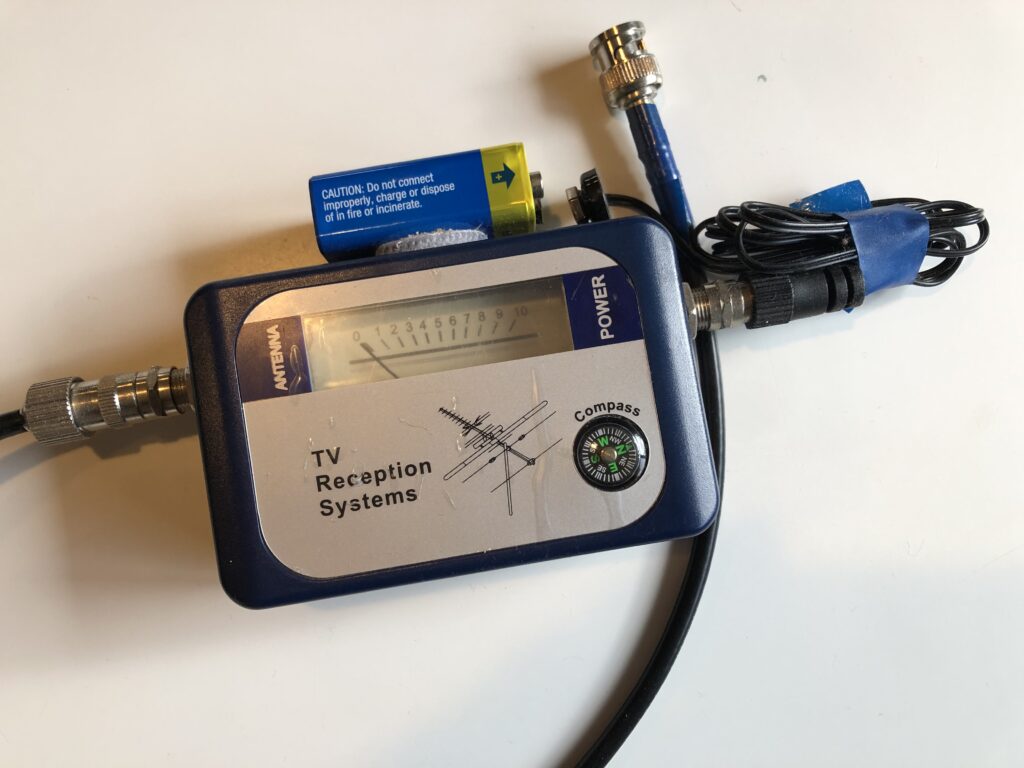
I settled on using a cheap DVB-T signal finder, as used for aligning a domestic TV antenna. This has the advantage of only being a receiver, and has an analogue meter, audible beep, simple compass, and built-in variable attenuation. It’s only downside being that it’s completely non-selective, and “works” anywhere from 170-860 MHz.
I’ve successfully used this setup with our Scout group multiple times. I’ve found the best way to get the youth interested is to bundle the transmitter with some sweets. Radio Easter Egg detection was very popular!




Rob
Posted at 11:19h, 08 NovemberI’m building this, also for my Scout group 🙂 so many questions; Do you mind to list the Transistor and Resistor numbers? Is the tranny a 548 (Jaycar has)? Is the resistor a 2.9k (red-white-red-gold)? Also, Jaycar has a 433MHz transmitter alternative “Wireless Modules (Transmitter) – 433MHz” for AU$8. Do you have any code to make it play a tune – i feel the youth would get more out of this if the Tx played a tune. I like the idea of the TV signal finder but feel you need a tune to get youth engaged. Thanks so much for posting this!.